Showing posts with label architecture. Show all posts
Monday, February 15, 2016
Friday, January 24, 2014
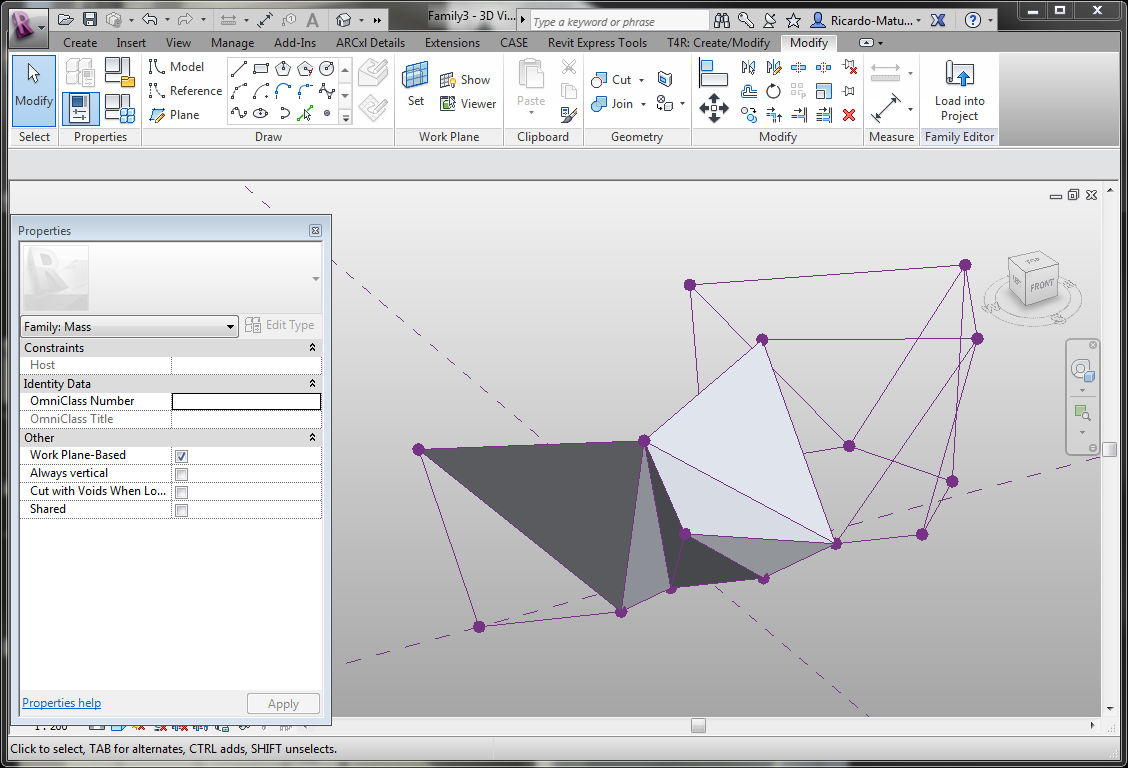
Parametric Design Acoustic Baffles
I designed this ceiling using REVIT massing tools. Work for Ken Fukushima Architects.
Acoustic Baffles by Sound Solutions in Toronto.
Labels:
@rmaturana,
architecture,
Autodesk,
BIM,
Ken Fukushima,
Mass
Location:
Don Mills North York
Thursday, November 28, 2013
Design Options Quick Video
Design Options:
Very useful but do not over do it.
In my experience best practice is for only one person to work on a Design Option at a time. I have run into problems where the model slows down and crashes.
- Select Design Options
- Create the Option Set and rename to something project specific.
- Create the Options within the set.
- Select the option to be primary (Automatic default in all views unless modified in the visibility graphics)
- Start Drawing within option.
Design Options Starting from existing elements:
- Follow the steps above up to step 4.
- Select elements to place within design options.
- Make the primary option the original design. This is done just in case there is an error or you wish to go back to the original. It is meant as a fail safe.
Finishing Design Options:
Not nevcessarily but recommended as it may mess up your room areas / boundaries. Select the option you wish to keep and select "Accept Primary". Accepting the primary will delete all other design options within the set, the set and it will place the primary as part of the main model.
Wednesday, November 27, 2013
Monday, November 25, 2013
REVIT Mass using reference lines
Video Mass Using Reference Lines Part 1
Video Mass Using Reference Lines Part 2
Using the Mass Family and Reference Lines.
Rhino to Revit Step by Step Video
Click on Link Below for Video
http://www.screencast.com/t/NgGGpOADpo
Steps:
- Convert Mesh to Nurbs
- Select Surfaces
- Click on Export
- Change Format to ACIS (.sat)
- Open project or project that will be linked into main project file.
- Create an in place mass
- Insert by Linking SAT file Origin to Origin or Center to Center. Depends on how you created the Rhino file. Note that sometimes the export scale may be different when importing. If it is too small reinsert adjusting scale settings. If it is large then just scale using type.
- Finish Mass
- Go to manage Object style, select the imported object layer and change name from 0 to whatever makes sense in your project. Change the material if required.
- Link file to main model.
It is important to export and import each item on its own if you wish to have different materials or visibility graphics.
Also you may have to break the file down into various pieces since Revit limits the import at 2000 faces.
Labels:
ACIS,
architecture,
Autodesk,
BIM,
design,
Grasshopper,
Mass,
Revit,
revit 2013,
Rhino,
SAT
Thursday, June 20, 2013
What Family do I use???
I have been asked many times about what family type to use. Floor based, Level base or plane base. The answer is not easy because it depends on the case scenario.
For lighting I use both ceiling based and plane based. The advantage of a plane based family is that if you have an angled ceiling or domed ceiling the plane based light will adapt adn insert perpendicular to the face of the surface. Also some fixtures may be placed on walls, etc depending on your needs.
The link below is to a video showing how face based components work
Face Based Family
My personal preference and the one that gives me the most freedom is to start using a Generic Model family which I then switch to the Family Type. Remember to not over constrain your families.
For lighting I use both ceiling based and plane based. The advantage of a plane based family is that if you have an angled ceiling or domed ceiling the plane based light will adapt adn insert perpendicular to the face of the surface. Also some fixtures may be placed on walls, etc depending on your needs.
The link below is to a video showing how face based components work
Face Based Family
My personal preference and the one that gives me the most freedom is to start using a Generic Model family which I then switch to the Family Type. Remember to not over constrain your families.
Thursday, April 18, 2013
Cartoon Set
Cartoon sets are one of the most important tools any office could have. It could be as simple as a hand written list or a complex excel chart.
A cartoon set helps you plan out your drawing list and assign resources to them. It helps you allocate time to be spent on each drawing sheet an helps you determine the LOD per phase.
It organizes your workflow, link it to your schedule and use it as a benchmark tool.
It is imperative that every project has one right at the beginning.
Your office Revit template would have a basic skeleton of a cartoon set.
A cartoon set helps you plan out your drawing list and assign resources to them. It helps you allocate time to be spent on each drawing sheet an helps you determine the LOD per phase.
It organizes your workflow, link it to your schedule and use it as a benchmark tool.
It is imperative that every project has one right at the beginning.
Your office Revit template would have a basic skeleton of a cartoon set.
Subscribe to:
Posts (Atom)